Wednesday, 9 April 2014

Day with the hat lady

We had our new hat lady come in (can't remember her name to save my life). She spent the day going over our hats with us and teaching us a few different techniques, such as making fabric roses, fluffy bows, and lining for hats. Fabric roses were really fun, I definitely made some at home (with some wine) later that day. 
-First you have to spray your fabric down with some fabric stiffener (the same you would use for hats)
- After it dries cut out 10 large petals and 10 small ones, as well as a circle that will be your base. If your using a thicker fabric, i.e. velvet, it's a good idea to cut out a small triangle from the base of the petal so that you don't create extra bulk while assembling your flower.  
-Next iron your petals one at a time, ironing them will make them floppy, then you can shape them into petals. hold them as they cool down and they'll hold their shape. 
-Now time to glue the petals onto the round base you made, fold the bottom to make them perk up (this is way we cut out that triangle) and glue them in a circle around the base moving in with each layer
-make a rosette to glue in the centre and you set!


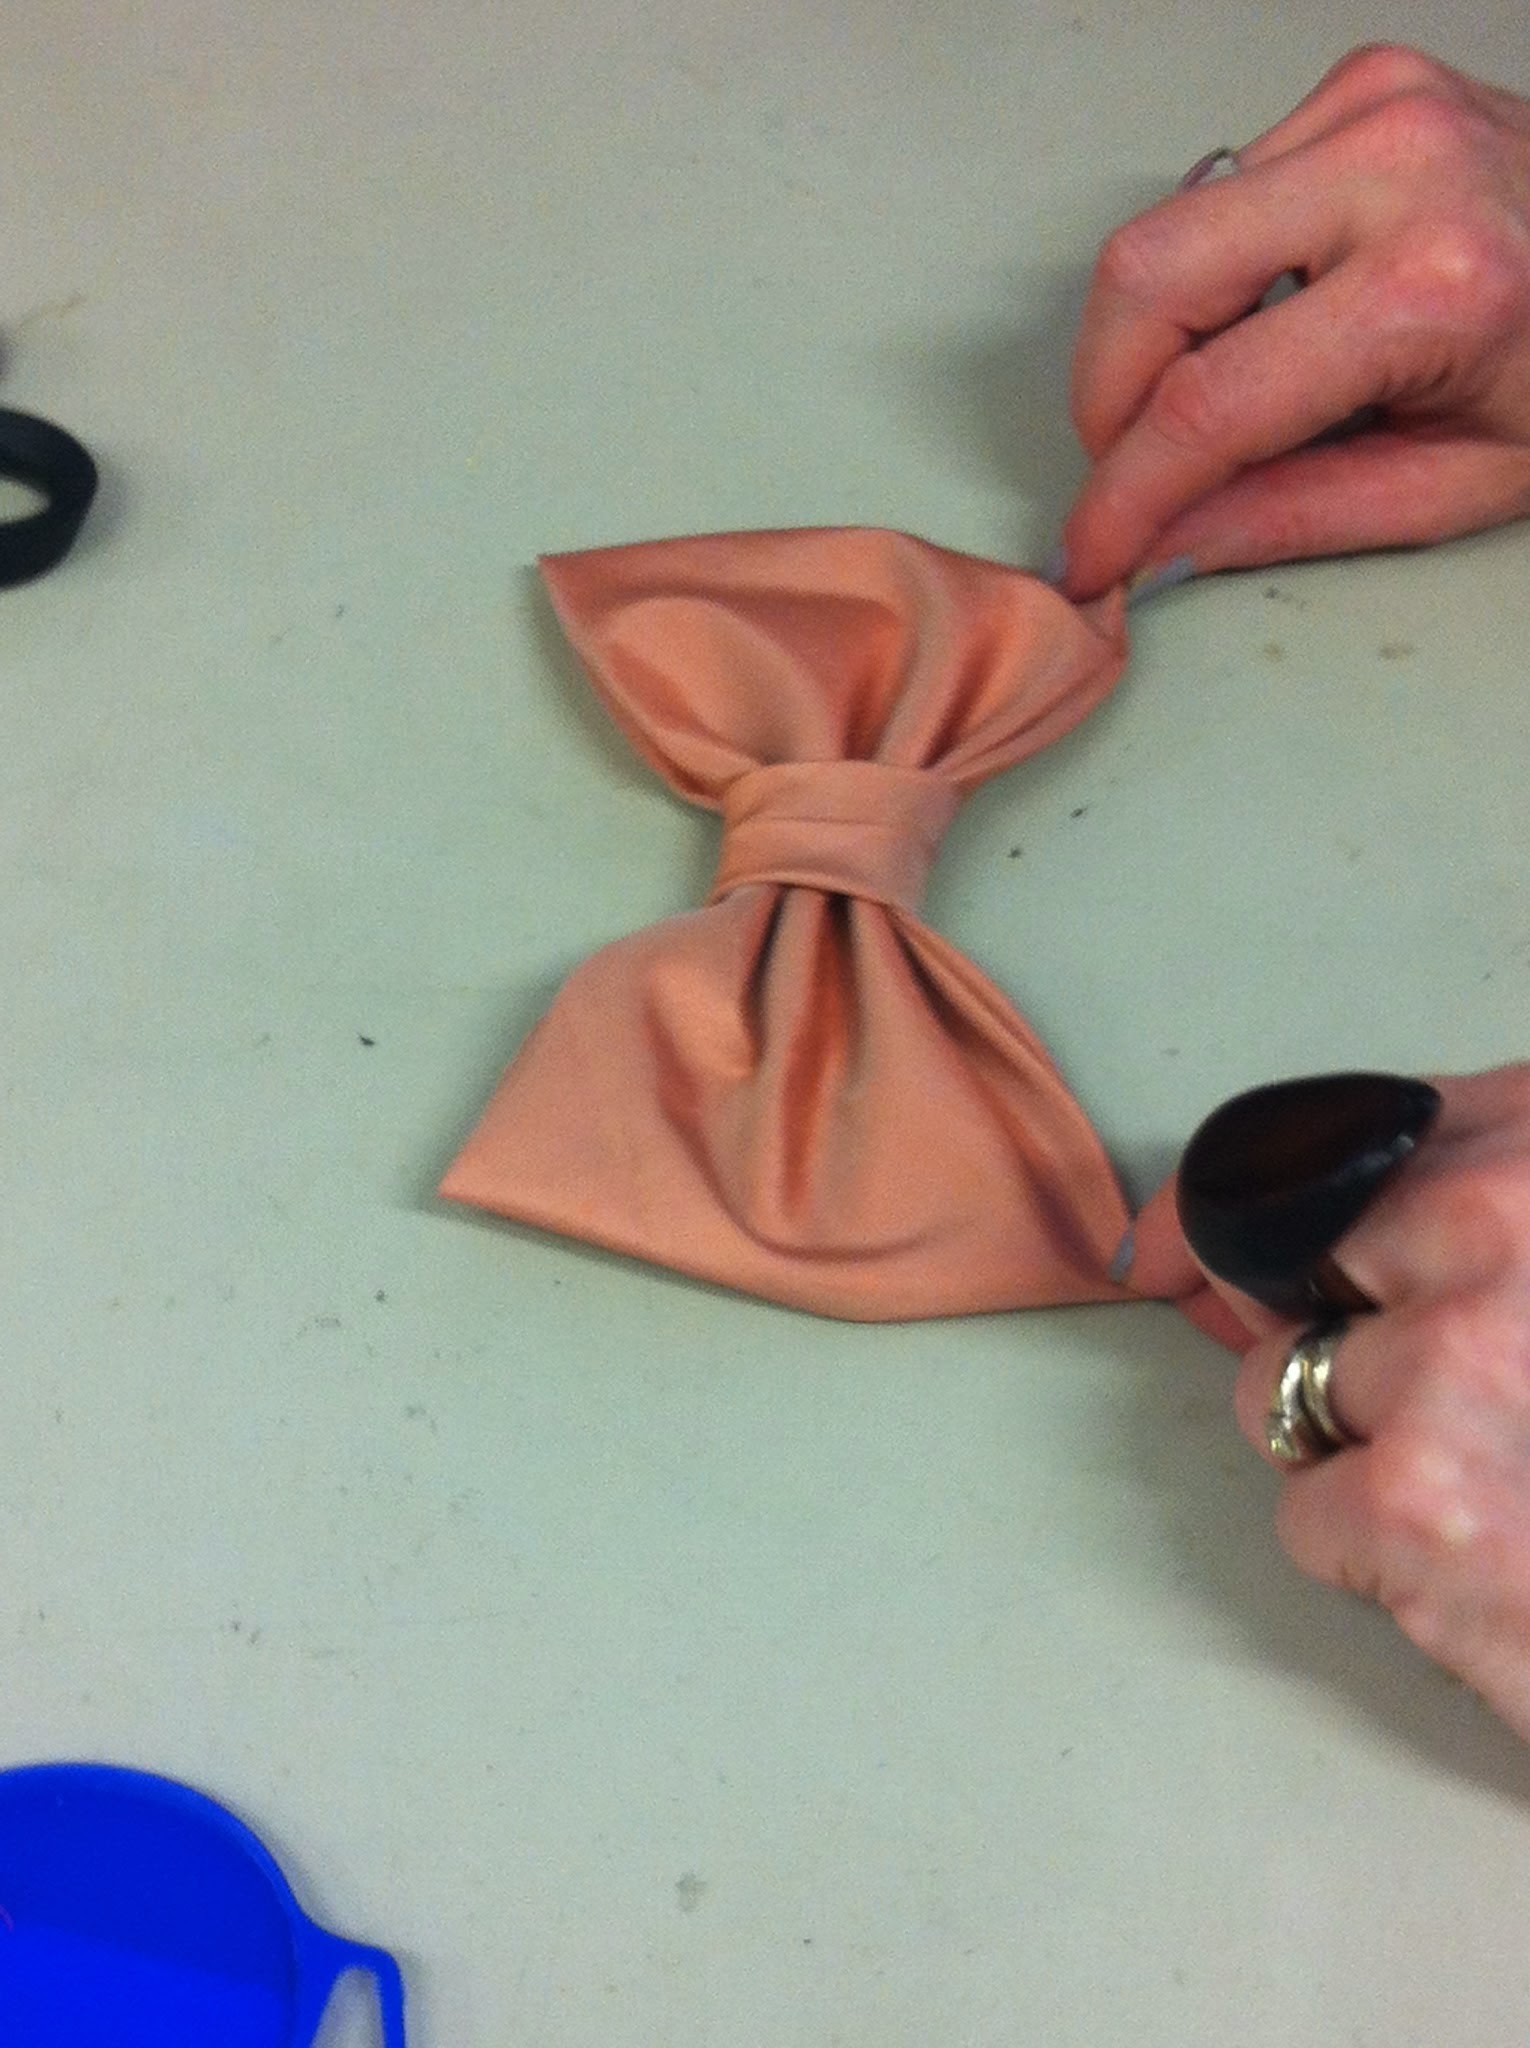


We also went over bow making and hat lining, pretty much the moral of the story is cut everything on the bias.


here's my try at making fabric flowers, obviously at home with my evening bit of wine,

Monday, 31 March 2014

Second fitting

Second fitting was bit of a bummer as my model wasn't feeling well and nearly fainted, which also meant that we couldn't fit nearly any of the costume on her. I'm planning on arranging another time to meet up with her outside of uni and try the bodice on and fit the sleeves. The few things that we did come to a conclusion on is that the skirt looks far to heavy and it shouldn't be mounted on calico, so I'm going to have to take it all apart, remount it on silk organza and then add what's called a hanging skirt, basically a slip attached at the waist band, which will be made of polly cotton. I also need to add a few more bones to the corset and replace a couple that got bent.


Hat time

Well the capline that I bought online didn't turn out to be cheaper when you added shipping :( so I had to order on through a different company, which wasn't particularly cheap either. But it's done know thank goodness. My lovely straw hat has now been blocked as well :)
First I had to spray the whole hat down with some stiffener and wait for it to dry. 
After it dried I then wet it again and blocked the crown. after the crown dries I'll have to cut the brim off and block it on a separate brim block. after which I'll have to sew them both together and go from there.


Tuesday, 25 February 2014

bought a capeline

bought my capeline from https://www.judithm.com it's an american site so shipping will be a bit more but it was quite reasonable to get the capeline ~£11. My friend paid about £20-25 for hers, so as long as my shipping is less than £9 I'll consider this a victory :)

Saturday, 22 February 2014

Hat Notes

Had a chat with our new Hat Tutor about my hat and here are some notes

We've decided it's a straw hat so I'll be looking into getting a natural straw Caplin possibly from Milliners Warehouse in Victoria or Baxter, Hart and Abraham. My Tutor is saying it should be no more than £15, but I've heard it's actually £20 or more from some of my fellow Uni students.

I'll need to block it out on a dome crown, I'll be using the biggest one we have and then possibly covering it with a couple beanies to then make it larger. There is also a possibility that I'll need to sew wire into the brim.


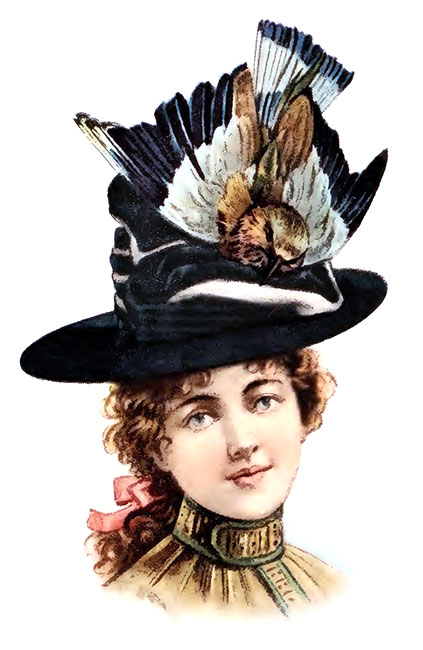
It was common in this time to decorate hats with taxidermy birds. Often times to make the birds seem more exotic they would add extra wings and feathers from other birds, and/or die the feathers different colours. 
 For my hat we have decided it has a bird on it, and we've talked about a few different ways of making a birds, I also have a friend who has some bird parts that she's sending me (as her father lives in the country and is one for pheasant hunting). I also have some chicken feathers from back home that i can use. 

The method that my Tutor suggested was,
- to make the bird body and head out of air dry model magic, possibly embedding wire into it to make it easier to attache it to the hat, as well as to attach thing to it.
-the beak can be made out of a quill 
-wings can be cut out of buckram then covered in wadding then a layer of calico perhaps to that then the feathers can be glued onto it
-when gluing on the feathers they should meet at the neck   

Wednesday, 12 February 2014


Just some progress pictures from making my corset. My corset is from a Pattern in Corset and Crinolines. It is a 10 piece corset from the late 1880's with a spoon busk. I'm doing it out of herring bone coutil, one layer on the middle bits (as it need a little give to contort around the body) and two layers on the front and back panels (so as to give extra strength to the fastenings). I'm using a silk for my top fabric, and I'm up in the air as to whether I'll use cotton petershim as boing channels or leather strips. I think I'd like to use leather but I'll have to get it approved by my instructors.

A trip to Sands Films


     Had a great time checking out the picture gallery at Sands Films (http://www.sandsfilms.co.uk). There wasn't quite as many pictures as I had hoped for, but I still was able to get a good amount of pictures, ideas and information. Some of the info I got was about the hat (woot woot!!), such as it is French, as most or all fashionable hats came from France at this time. I found one hat that looks quite similar to mine, it is definitely french, and it's also made out of straw and then partly covered in fabric. That's the most solid info I got, the rest of it is just reference pictures :) 

     It was really great to visit Sands, I haven't been there in months so it was nice to see some of the familiar faces. While I was there I also got to have  peak upstairs and see some really great antique buttons, some of which dated all the way back to the 17th century!!! Most of them where pretty rusted, but you could still see some great details.